
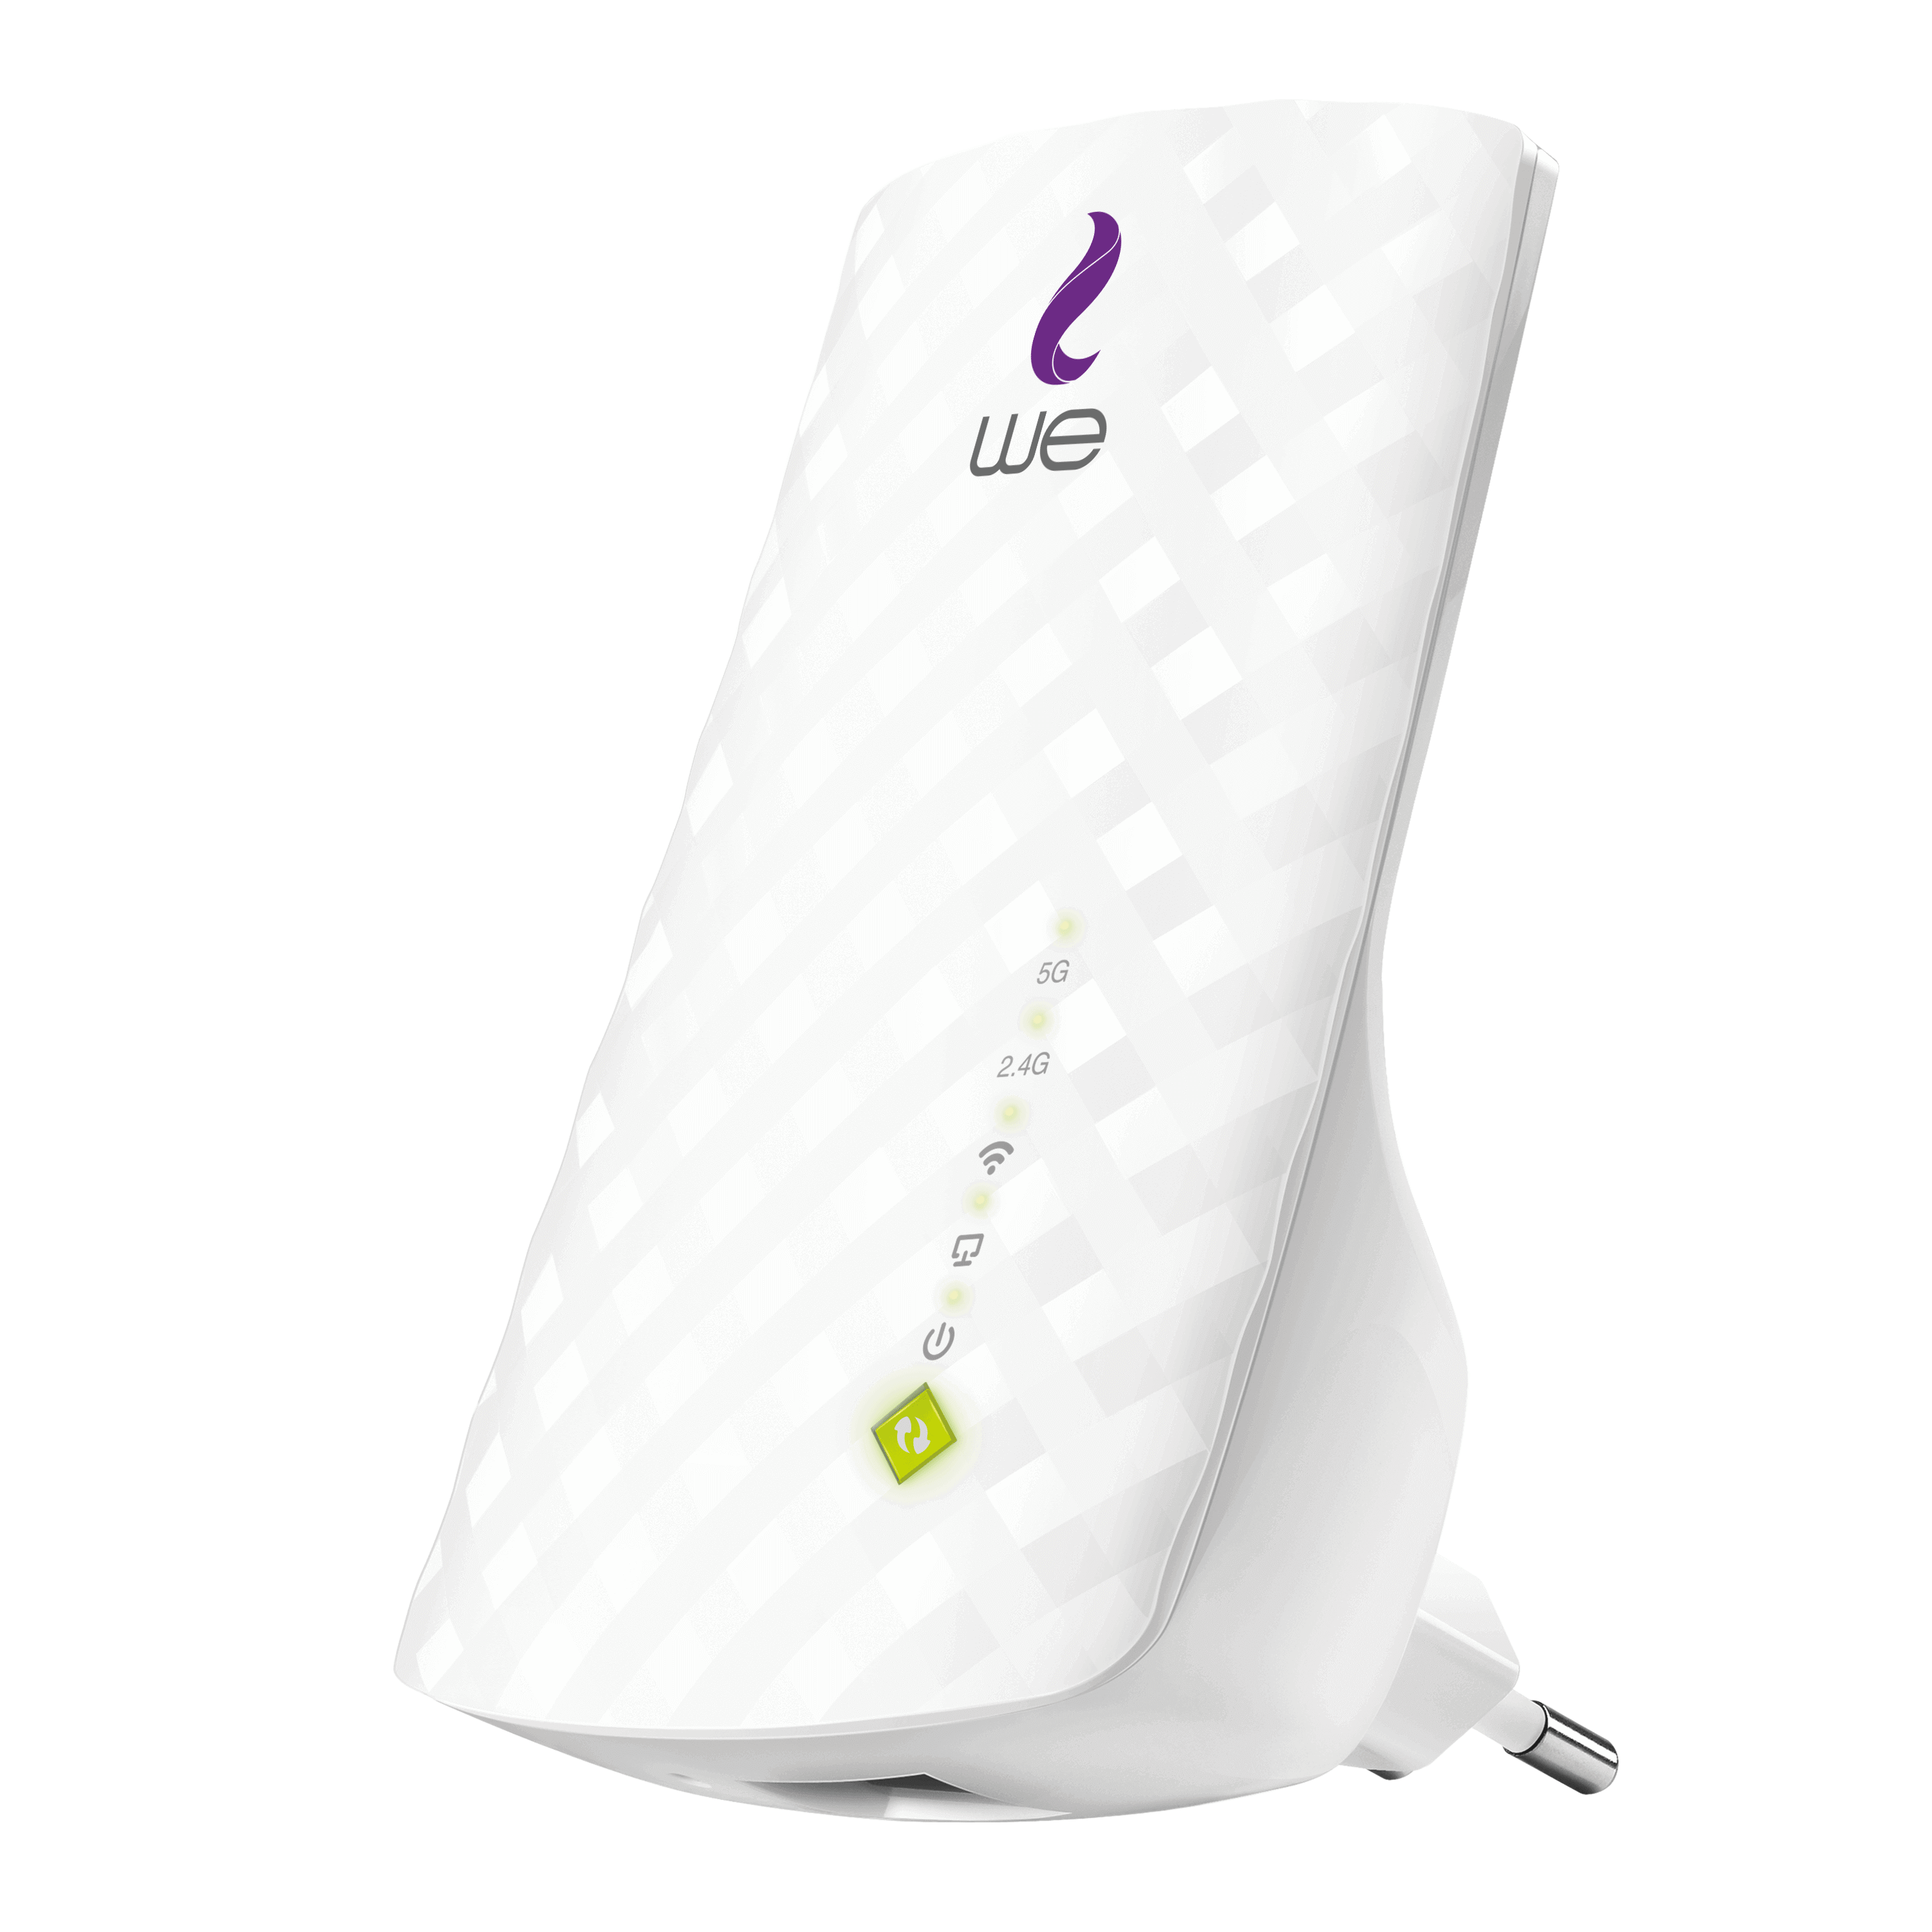
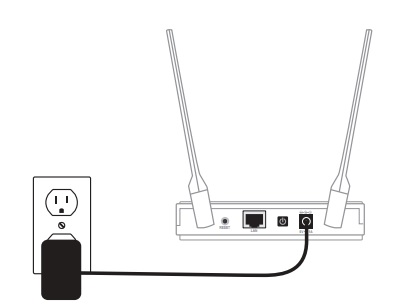
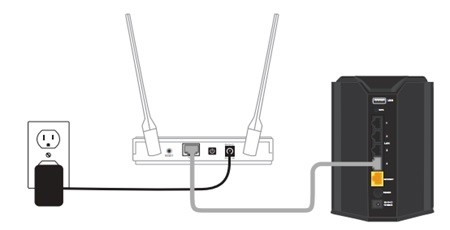
Plug the supplied power adapter into your DAP-1665 and connect it to the outlet or surge protector. Press the Power button on the back of the device. Verify that the Power LED is lit.
1- Attach one end of the included Ethernet cable to the LAN port on the back of the D-Link DAP-1665, and the other end into the Ethernet port on your wireless router.
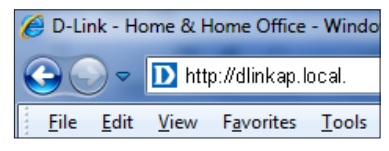
2- From the computer connected to your wireless router, open a web browser (e.g., Internet Explorer, Firefox, Safari, or Chrome) and enter http://dlinkap.local./. Windows XP users can enter http://dlinkap. Use the Setup Wizard to configure your AP.
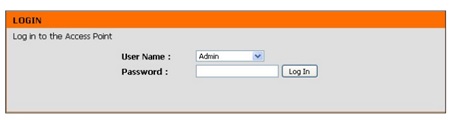
3- At the login screen, select Admin from the User Name drop-down menu and leave the password blank. Click Log In to continue.
4- Click Launch Wireless Setup Wizard and you will be guided through the steps required to get your access point up and running

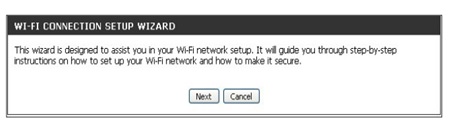
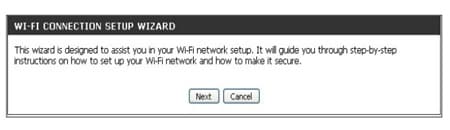
5- You will see the welcome screen for the Wi-Fi Connection Setup Wizard. Click Next to continue.
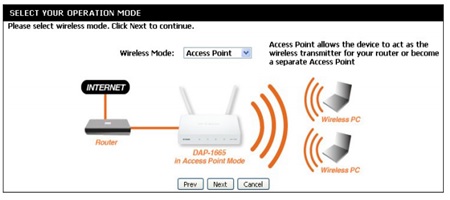
6- Select Access Point from the Wireless Mode drop-down menu. Click Next to continue.

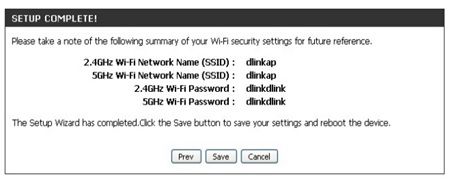
7- Enter a 2.4Ghz and 5GHz Wi-Fi Network Name and Wi-Fi Password. Click Next to continue.
8- When setup is complete, make a note of your settings and click Save. The DAP-1665 will reboot.
Link


")


