Dears
Kindly check how they can add network manual in wireless Windows 10 , they have 2 method
Method 1: Use the Windows 10 wizard for connecting to wireless networks
Windows 10 makes it very easy to connect to visible WiFi networks that broadcast their name. However, for hidden networks, the process involved is not that intuitive:
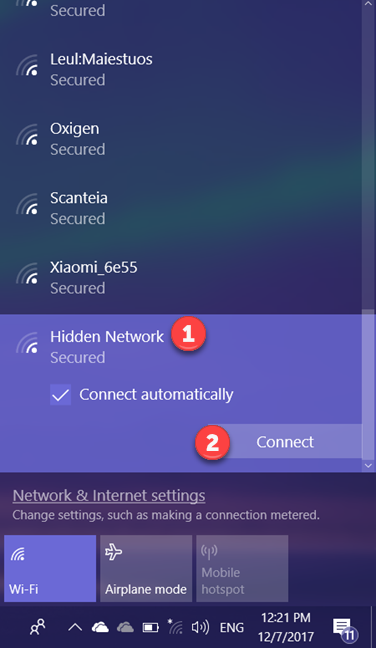
First, open the list of available WiFi networks, by clicking or tapping on the WiFi signal, in the system tray (the bottom-right corner of the screen). If you do not see this icon, read this tutorial to bring it back: How to set the icons shown on the Windows 10 taskbar, in the system tray.
Windows 10 displays all the visible networks in your area. Scroll down the list to the bottom.

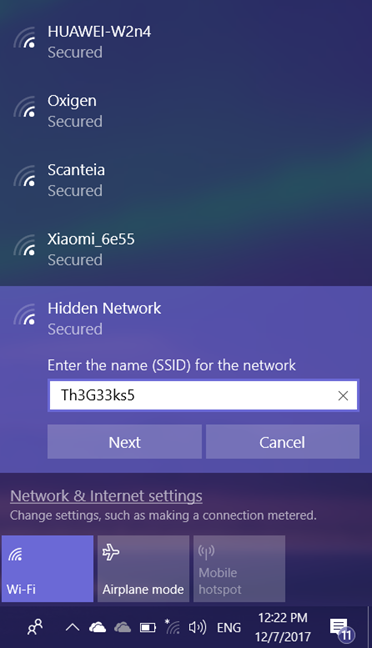
There you see a WiFi network named Hidden Network. Click or tap on its name, make sure that the “Connect automatically” option is selected and press Connect.
You are asked to enter the name of the hidden wireless network. Type it and press Next.
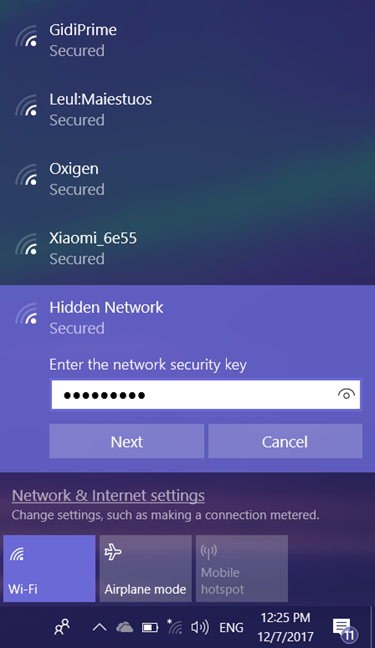
Now you are asked to enter the password (or security key) for connecting to the hidden network. Type the password and press Next.
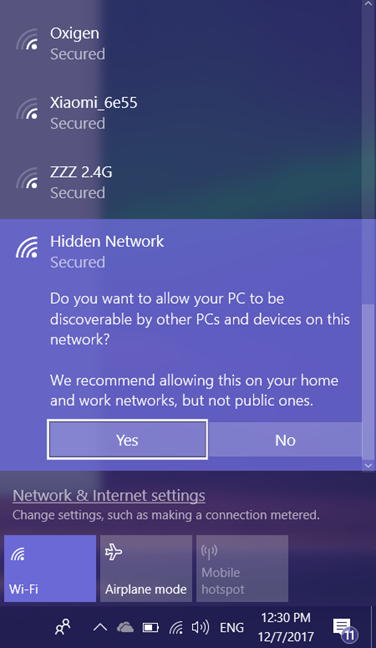
Windows 10 spends a few seconds and tries to connect to the hidden WiFi. If everything went well, you are asked whether you want to allow your PC to be discoverable on this network. Choose Yes or No, depending on what you want.
This choice sets the network location or profile and your network sharing settings. If you want to know more and truly understand this choice, read this tutorial: What are network locations in Windows?.
You are now connected to the hidden WiFi.
Method 2: Use the Control Panel and the “Set Up a Connection or Network” wizard
If the options shown in the first method are not found on your Windows 10 laptop or tablet, then you might be using an older version of Windows 10. If you do not know which, read this tutorial: What version, edition, and type of Windows 10 do I have installed?
In this case, you need to try this method instead of the first. Open the Control Panel and go to “Network and Internet -> Network and Sharing Center.” There, click or tap the link that says: “Set up a new connection or network.”

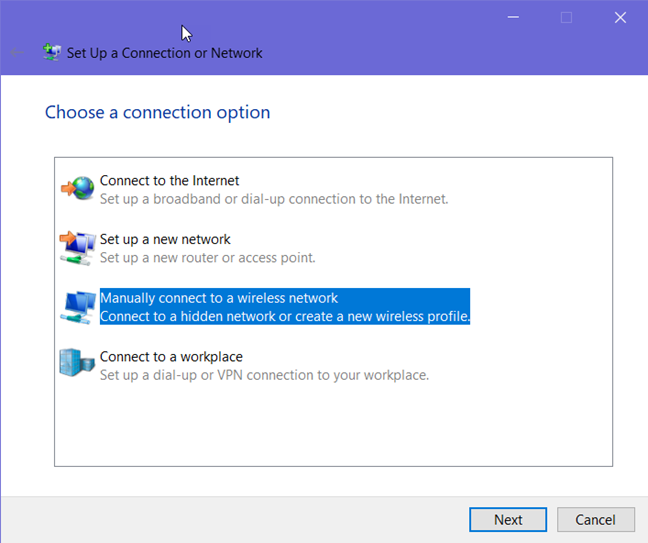
The “Set Up a Connection or Network” wizard is started. Choose “Manually connect to a wireless network” and click or tap Next.
Enter the security information for your WiFi network in the appropriate fields, as follows:
- Enter the SSID or the name of the network, in the Network name field.
- In the Security type field choose the type of security used by the hidden wireless network. Some routers may name this authentication method. Depending on the security type you choose, Windows 10 may or may not ask you to also specify an encryption type.
- In the Security key field, enter the password used by the hidden WiFi.
- If you do not want others to see the password you type, check the box that says “Hide characters.”
- To connect to this network automatically, check the box that says “Start this connection automatically.”
When done completing everything, press Next.
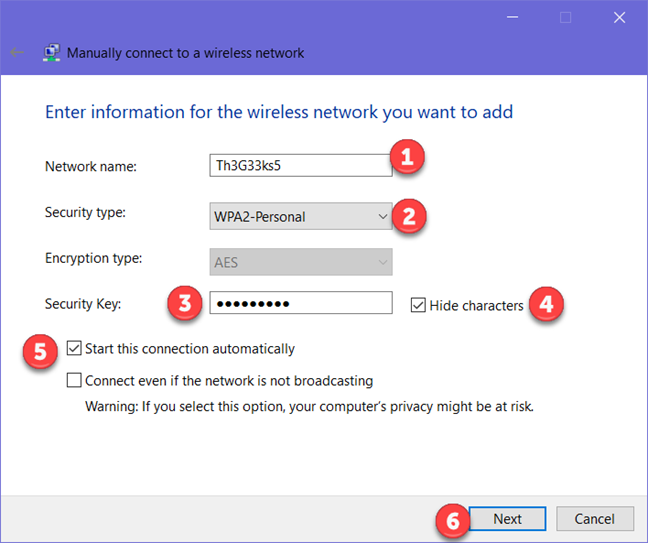
NOTE: If you check the box that says “Connect even if the network is not broadcasting,” Windows 10 searches for the hidden network every time it is not connected to a network, even if the hidden network is not in your area. This may put your privacy at risk because skilled professionals can intercept this search for the hidden network.
Windows 10 notifies you that it has successfully added the wireless network. Press Close and you are done.
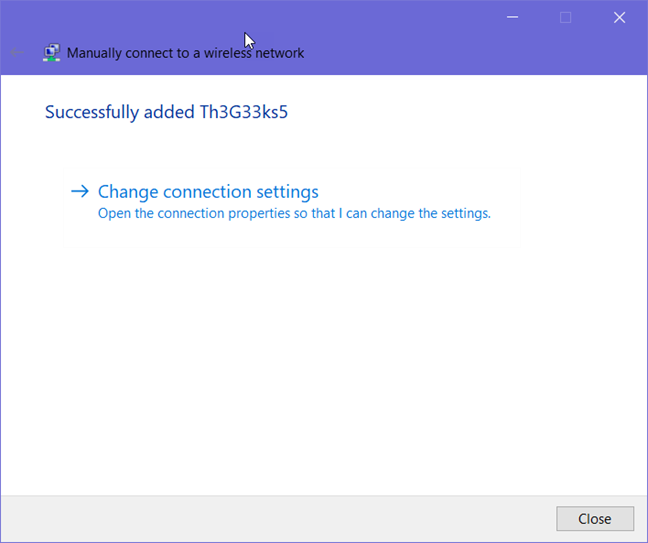
If you are in the range of the hidden WiFi, your Windows 10 device automatically connects to it.
Regards,


